
by Alfred Godchaux 1835-1895, France

Table setting from Pinterest
Chargers are round plates usually made of wood or plastic, which are designed to hold china plates and protect the table. They used to be quite expensive, and sometimes cost even more than the plates themselves, but lately, they are found at dollar stores and discount stores. I got some of mine at Walmart for only 95 cents, and some were 50c each after the Christmas season was over. The Dollar Tree has some with the pretty beaded edges. Chargers are a great substitute for place mats, and they do not take up so much room on the table. They look very elegant when combined with matching napkins and other accessories.

Here is a sample of how you can use one dish in several different settings and give your table setting a new look. I've linked to a few blogs which feature table settings, which show the endless ways to use dishes, place mats, chargers, centerpieces, napkins, napkin rings, and tablecloths. Today I spent some time preparing tables for guests, using the same plates with different chargers.

The name of the plate is "Enchanted" by Corelle Livingware, and the plates are available at discount stores like Walmart, on open stock. This means you can buy a plate to add to your supply, whenever you like. This dinnerware is lightweight and feels like china, and is unbreakable. I've used it here in three different settings, to share how you can get more use out of one set of dishes and enjoy them in different ways.

For a centerpiece to match the green chargers, use green ornaments, green apples, limes or fresh cut greenery from outside. Anything from laurel to cedar makes a lovely centerpiece. The round ornaments here are shatterproof, as many are made of styrofoam or unbreakable materials these days.

This is what the chargers look like. They are very lightweight, and I like them better than place mats.

Here is the plate with green chargers, matching napkins and green glass punch cups.

These green chargers were available at Walmart this year for less than a dollar each.

A variety of things from the dollar store that could be used to brighten up a table when used with your ordinary, every day dishes.

This is the same plate used on a bright red charger from the dollar store, the ones with the beaded edges, also available in gold and silver. A sparkled bow ornament is looped around a napkin, to match. If you have guests for a tea or luncheon, you can let them take home the ornament as a party favor. They come 5 in a box for a dollar. Roll up the napkins tightly and slip the thread hanger over them, showing off the pretty bow by laying it on the front of the napkin.
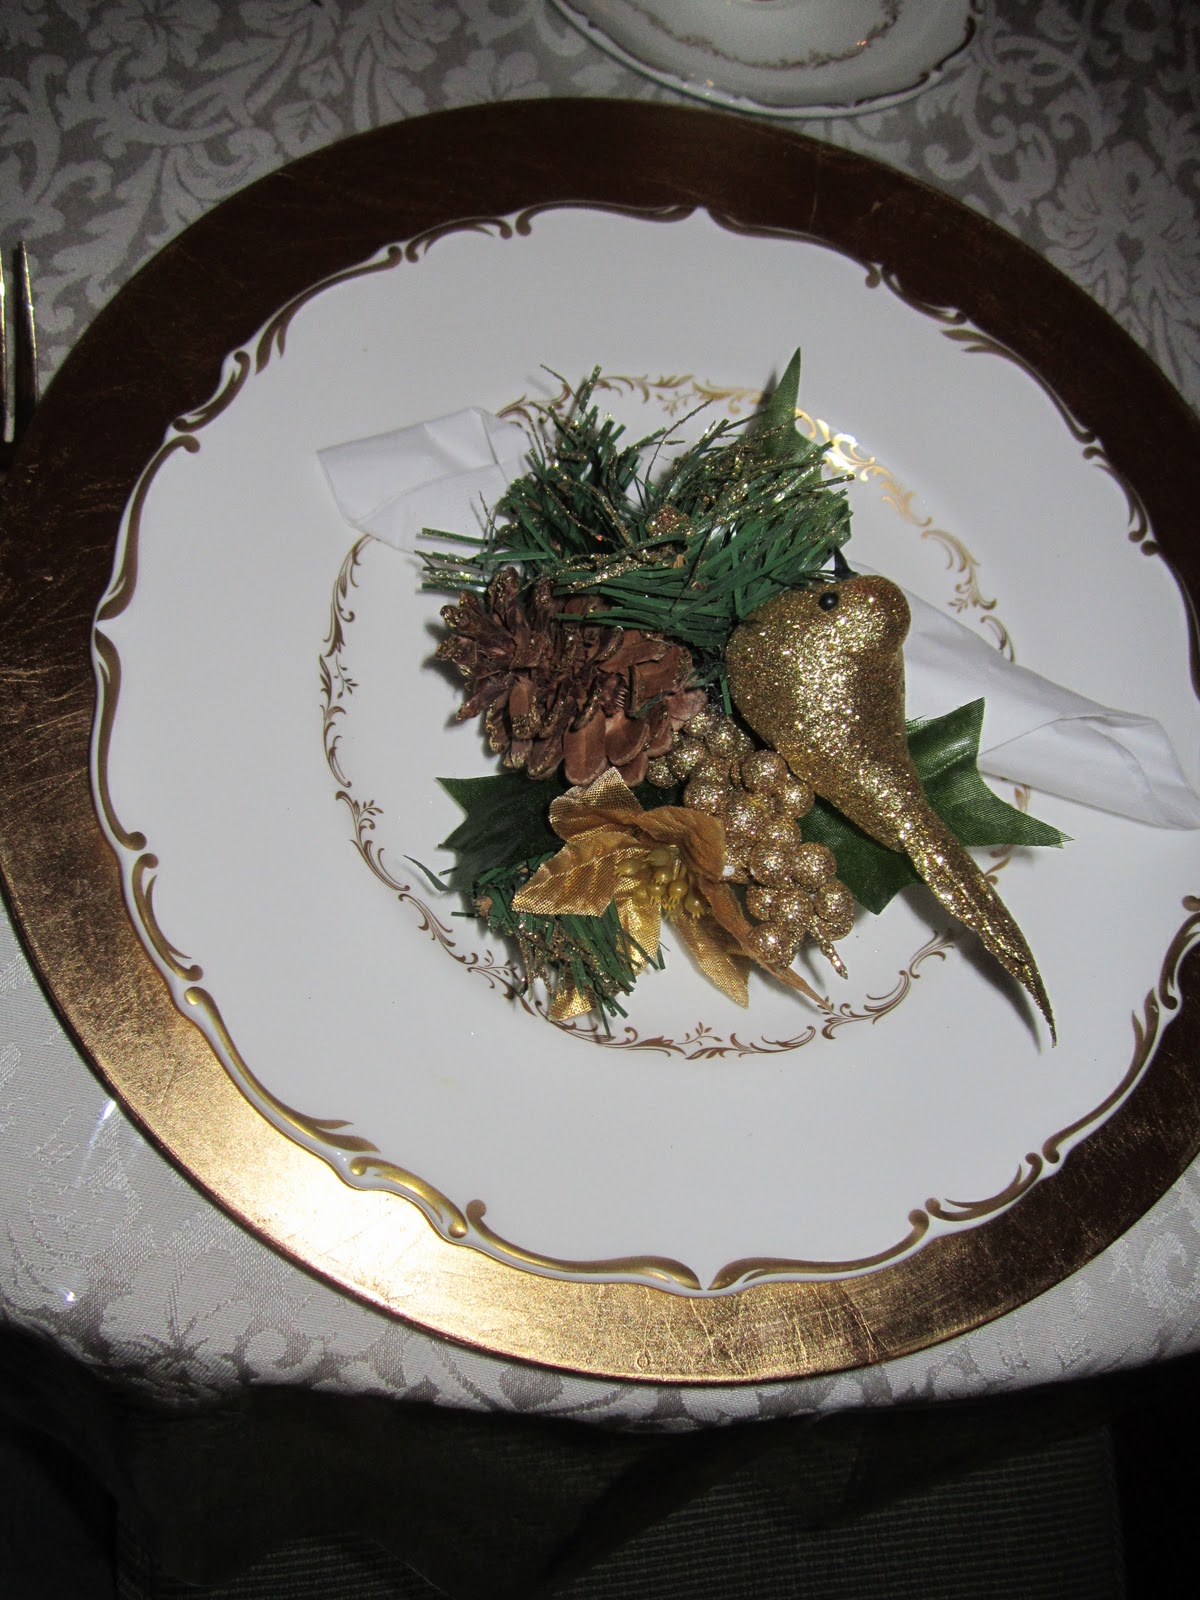
Here is a gold charger with gold cutlery. One of the bird and pine branch clip-ornaments is used for a napkin holder. These birds come in glittered red, gold and silver, at dollars stores, and slightly cheaper at Walmart.

If you eat at home most of the time, it is always nice to have a change by using chargers and colored napkins and accessories and exchanging them. Try a snowflake ornament on a red napkin, as you see here on the left, which can also become a gift to send home with a guest. These usually come in a package of 6 for a dollar or less. Tie jingle bells around the napkin for a delightful touch. All kinds of things are available at the dollar stores that could be used for this purpose, for centerpieces, or for table decor in general.

If you have no colored goblets, just fill clear glass stemware with cranberry juice to match your setting, as shown above.
Look through your fabric supply for prints that match your chargers and table settings. I have used a piece of clear plastic (available by the yard), and can insert any kind of fabric under it that I'm not using, and it will remain undamaged in case I ever get around to sewing with it.
Hand make ornamental napkin rings by cutting similar shapes as these ornamental bows, from heavy scrapbook papers. Cut out houses, trees, bells, candle shapes or candy canes, and attach a strip of paper to wrap around the napkin.
Someone just told me that pink chargers are available, and has a picture of them here http://acupofglee.blogspot.com/2010/10/pink-chargers-have-arrived-at-fancy.html
Look here also for the many different colors of chargers: http://www.koyalwholesale.com/pages-main-category-286_1232/index.html?gclid=CI2yuLnI5qwCFWgaQgodiGRpiQ
If you want to make ornaments with styrofoam balls, there are instructional videos available on you tube, including this one: http://pattyschaffer.typepad.com/capture_the_details/2011/11/five-ornaments-in-five-minutes.html

+(2).JPG)
.JPG)
+(2).JPG)
+(2).JPG)
.jpg)
.JPG)
.JPG)
.JPG)
.JPG)
.JPG)
.JPG)
.JPG)
.JPG)
.JPG)
+(2).JPG)
.JPG)
.JPG)
+(2).JPG)
.JPG)
.JPG)
.JPG)
.JPG)
.JPG)