Thursday, September 20, 2012

Extended Summer

Garden Tea (Pinterest)


Outdoor Reception (Pinterest)


Above: Enjoying the scene outside the front door


This year's sheet tent (a day tent)


Home Made Bread: my hint: I mix the yeast granules in with
all the dry ingredients before adding warm liquids. (Check back for instructions.)

Some ingredients I use: real salt, light tasting olive oil, unbleached flour. It does not have to be bread flour, but unbleached is the tastiest, and it is usually a blend of wheat and barley, which gives the bread a pastry-like taste and texture.

I used coconut oil, instead of olive oil, in this bread. This brand comes from Costco and has a strong coconut flavor.


To make this bread, first pick a recipe. Sometimes there is one printed on the back of the bag of flour.
Next, with a slotted spoon, (a large spoon with holes in it) thoroughly mix the dry ingredients. I used:
5 cups unbleached flour
1 and a half tablespoons dry yeast
1 teaspoon real-salt

In another bowl, mix the oil and warm water. The water should be very warm. I used:
1 cup coconut oil
2 cups warm water
Allow the oil to dissolve in the water.


Mix two eggs with a small whisk and gradually blend them into the oil and water by pouring in a stream and mixing with the wire whisk at the same time. To the liquid ingredients, you may also add two tablespoons or one fourth cup of molasses, for a different flavor. Try also adding ground flax.

Pour the wet ingredients into the dry ingredients and mix with a wooden spoon or sturdy mixing spoon, until the dough sticks together in a ball that is a little greasy. It is okay to add more liquid if you find the mixture too dry, but generally, it does not mix in as well, once the dry and wet ingredients have already been mixed.

If the bread dough has too much liquid and seems "soup-y" you can add flour, a little at a time, mixing it in after each addition, until the dough is manageable enough to knead it with your hands.  It should not be sticky, but elastic.

The dough will look like this after being mixed. Knead it about 12 times before forming it into loaves. Kneading is a method of mixing that requires folding and pressing with the heels of your hands, over and over until the dough is well mixed. A well-kneaded loaf will not show streaks of oil like the one above.The ball will be smooth and not lumpy when it is sufficiently kneaded. The more it is kneaded the finer the grain of a slice of bread will be.

Divide the dough into three balls and form three loaves by stretching the dough and tucking it  under the loaf, in a shape, as you see, above.


Brush one beaten egg over the top of the loaves.


Bake at 350 degrees for half an hour to 45 minutes or until the loaves are golden brown on the crust, and then turn the oven off. If you like, you can leave some of the loaves in the oven to soak up the rest of the heat.  If you use the coconut oil, the bread crust will be like pastry and taste as good.

Instead of applying an egg wash, you could brush coconut oil on the top of the loaves before baking.

Be sure to try different bread recipes until you discover one that works well for you. Every climate and home atmosphere is different, and this will have an effect on the end results of the bread-making. My recipe works well for me, but it might not work well for you, so just keep trying.


A Recent Trip to the Coast


We have been enjoying company from Australia and are quite busy, hence my lack of posts lately. All is well here and the days are still sunny.

Friday, September 14, 2012

Sweet Seasons


Life tends to be the same, rain or shine, for the homemaker. There will always be something to do at home: baking, washing, sewing, reading, sweeping, taking long walks, teaching children. So, whether it is spring or fall, my focus is making the home pleasant.  I must admit that I feel more energy and optimism in the spring and summer, so when autumn approaches, I never look at it as the "end of summer" but rather, an extension of summer. Often the temperature rises to a higher point than some summer days, allowing the feeling of summer days to continue. The season inside my house seems to always be summer, no matter what the weather.

Thursday, September 06, 2012

Fabric in Paintings of the Victorian Era

The Ramparts, Walmer Castle
(Please click on the picture for a detailed view. I like the background scenery in this painting.)

A few years ago I posted some sewing inspired by paintings of the Victorian era, (Painting-inspired dressing and painting-inspired sewing)  and I am looking again at paintings to get ideas of the fabrics and designs. Click on the pictures and get a closer view of the lovely fabrics, the ruffles, the trims, and also have a look at the hair styles. If you will click on the link and go to the painting, clicking it on again and then using the magnifier, it shows a pretty good up-close idea of what the ruffles and tucks and fabrics look like. 


(click on the picture for a closer view and then use the magnifer)
(and another scenic background)

(Click on the picture for a larger view.)

The fabric of this dress looks exactly like some that is sold in fabric stores today.


Tuesday, September 04, 2012

The Color Pink


Pink Murex Shells

Painting by Guy Rose (1867-1925)

Pink Agates

Pink Grass


Tumbled rocks


pink parakeet


pink butterfly


Pink Sunset


Pink Lady Apples

pink flowers

I am busy sewing today but I wanted to post my collection of pink pictures of things God made. I prefer the lightest pinks for my home, or for making clothing for myself, but there are many dark pinks that are lovely. I believe pink has gotten bad press and sometimes when it would delight someone and lift them up the most, others are prejudiced against it. I remember having a cherry pink parka in the cold winter when I was a child, and how cheerful it made me feel when the days were so dark and dreary.

 When I get more time I will post some other pink things that are man-made : pink umbrellas, pink purse, pink pillows, and a pink house.

A pink dress!

The flower clip came from the fabric section of Walmart and is used to make headbands or add to knit hats. The fabric is also from Walmart. 

A cotton dress to wear at home.


The pattern is New Look 6352 with the neckline raised (see my sidebar on how to raise a neckline. Extra hint: hold the pattern up to your body and put the shoulders where they will be and then take a marker and mark the higher neckline right on the pattern paper)


The sleeves are from  Simplicity 2917. (Run the magnifyer on the picture at the site to see them better. I thought they were cute.)

...and this is the piping I put in the neckline.  Note: You can add ties to the waistline of this dress by making a clip at the pattern where it says "waistline" and when sewing, insert the ties. You make the ties by using the selvage or straight pieces left over on the fabric. Or, try wide grosgrain ribbon, to save a lot of work.


The dress-form is very short, so the dress looks very long, however even with the added ruffle, it is a very easy dress to wear around the home and is not too long (the hem cannot be stepped on, and it does not catch on things.)   Sewing hint: If you made a ruffle, cut a strip of fabric from which includes the selvage edge, so that you won't have to hem it. Use the raw edge to run the gathering stitch and attach to the edge of the garment.

Pie instructions have been added to the previous pie post, for those who are interested.


Saturday, September 01, 2012

Let Them Eat Pie


I can not resist sharing this beautiful pie. It is a combination of chopped apples from the apple tree, (mostly green variety), purple plums, and blackberries, mixed with tapioca to thicken it. Berries make a lot of juice so it is important to mix in flour or tapioca when making the filling.


\


I purchased this deep-dish, made-in-America Pyrex brand pie dish, which is over 11 inches wide, at Walmart for only $6.95 and it is the best pie dish I've ever had. 

I do not have a specifically measured amount of ingredients to tell you about, and so I can not give you a recipe, but if you will look up how to add tapioca to fruit pies, you can get an idea of how to make a berry-apple pie.  The crust is brushed with an egg-yolk wash, which makes it have a very golden look, and makes the crust very flakey and delicious. 


I like this crust all pieced together with scraps of dough. The hole is left in the top for steam.


The fruit was just picked moments before the pie was made. You can get the same results with frozen fruit or fresh fruit from the grocery store or farmer's market.


Pie Instructions

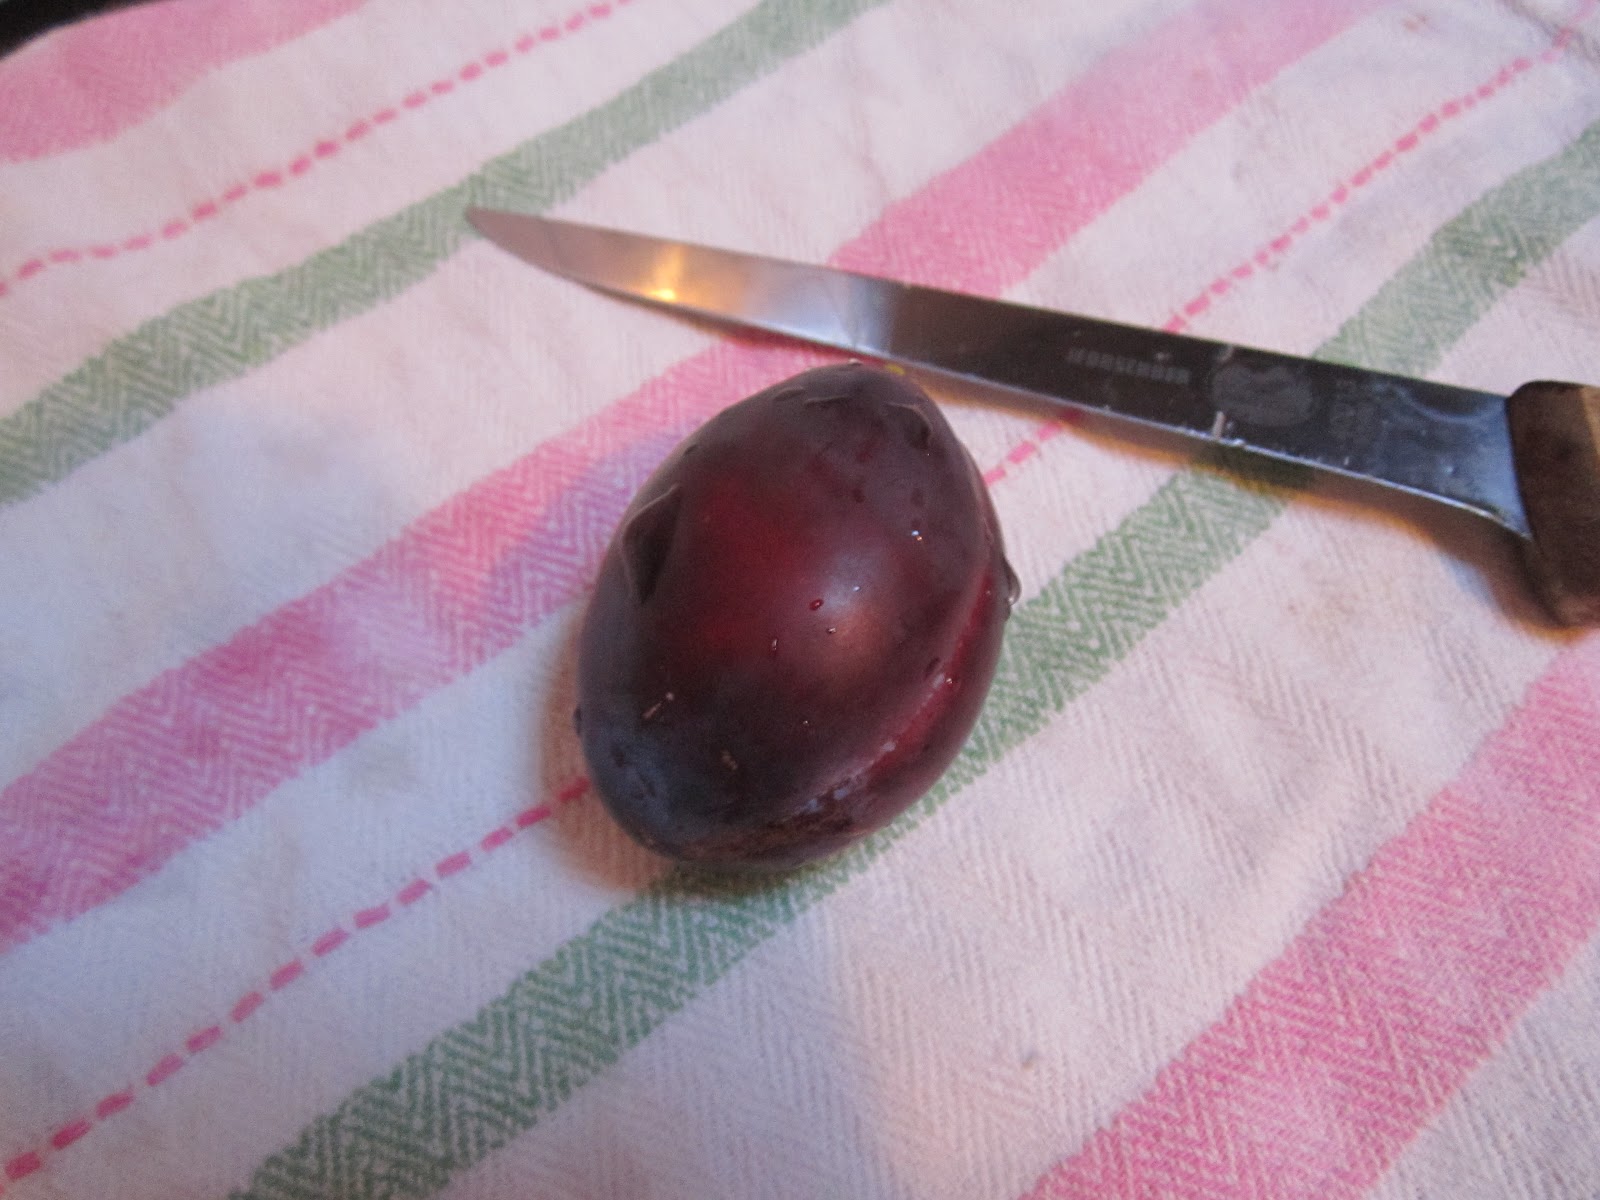
This pie contained about 12 cups of mixed fruit, which included blackberries and peeled, chopped apples, so you will have to determine how many plums you need. Cut each plum alone the seam line. Shown is a regular knife but I prefer serated knifes for cutting fruit because it grips the fruit better.

The plums have to be very firm but not as hard as rock, and cannot be overly ripe or mushy, for this pie.


Now cut the halves into fourths. There is no need to peel the plum. The skin will be tender and if it is a purple variety, it will add to the wonderful jewel-like color.

 When fruit is heated, it gets tart and sour, so the pie will need some thing sweet added to it.

 Read the back of the tapioca box to determine what amount to add to the pie mix. This might be anywhere from two tablespoons to one-fourth cup, depending on how many cups of fruit you have. To this pie was added over a fourth of a cup of tapioca.   


In a small bowl combine the tapioca and the spices:
2 Tablespoons cinnamon
1/2 teaspoon each nutmeg, allspice and cardamon
2 cups sweetener of your choice

Mix it all together  and let it sit while you make the crust.


Line the pie plate with the crust, add the berries into a mountain and cover with another pie crust, patching where necessary. If you have any left over fruit, make another small pie.


Before you bake it, be  sure to put a cut in the top to allow steam and bubbling juice to escape. Also, place your pie on a larger pan in the oven, because some of  the juice may leak out. The oven was set at 400 degrees and the pie took approximately half an hour to 45 minutes  to cook, however it depends on your oven and the kind of pan you use, as to the amount of time. If you smell the pie, it is probably done! Makes some notes to yourself about the taste of the pie so you can determine next time how to make it better, and how long to leave it in the oven. Since 400 degrees is very hot, set the timer for half an hour first, and then, if it needs more time, put it on for 15 more minutes.


When cut, it looks like a treasure box with all the jewels spilling out!


;